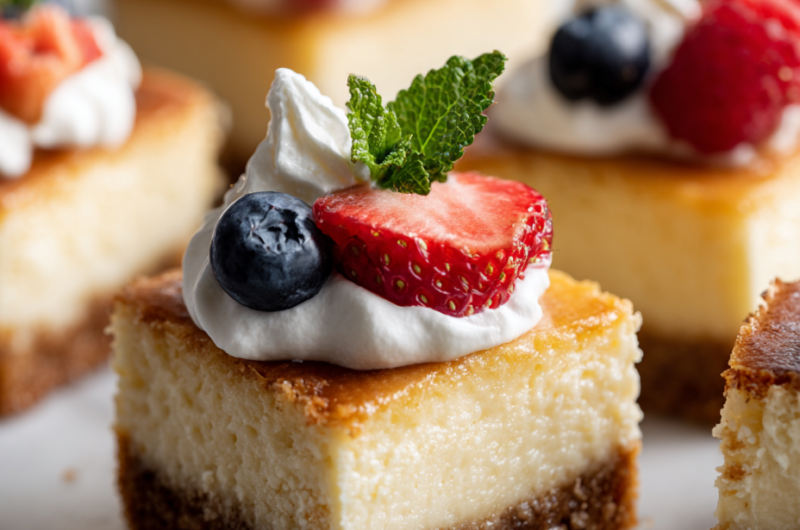
There’s something incredibly satisfying about the way a good cheesecake bar feels in your hand—the crunchy, buttery crust giving way to that rich, velvety filling. It’s a texture dance that keeps me reaching for just one more piece, especially when I make them myself. Honestly, it’s the perfect combination of tactile comfort and sweet richness, all in one bite.
What I love most is how forgiving this recipe is—no need for fancy equipment or complicated techniques. You can whip these up on a lazy weekend, and they turn out consistently creamy and crisp, just like I want. Plus, they’re a great way to satisfy that cheesecake craving without the fuss of a full pie.
These bars aren’t just dessert; they’re a little pocket-sized celebration of contrasting textures. The crisp crust, the smooth filling, and that hint of tang make every forkful a little moment of joy. I find myself craving that perfect balance, and these bars deliver it every time.
Focusing on how the texture of the crust and the creamy filling come together in a perfect bite, I want to highlight the tactile experience of each forkful and how the contrast makes cheesecake bars uniquely satisfying.
The story behind this recipe
- I first made these cheesecake bars after a trip to my grandma’s house. She always had a batch in her fridge, and I’d sneak a piece when no one was looking. It’s that memory—crunchy crust, creamy filling, a zing of lemon—that inspired me to perfect my own version.
- One afternoon, I was craving something sweet but didn’t want to fuss with a full cheesecake. These bars are the result—compact, easier to handle, still packed with that familiar tang and velvety texture I love. Every time I make them, I think of those lazy family afternoons, sharing bites and stories.
- heading: ‘The story behind this recipe’
Ingredient breakdown
- Cream Cheese: I prefer using full-fat cream cheese for that rich, velvety texture. If you want a lighter version, try Neufchâtel, but don’t expect quite the same richness.
- Graham Cracker Crust: I like crushing the graham crackers finely until they resemble wet sand. For extra flavor, toss in a pinch of cinnamon or a splash of vanilla. Skip the sugar here if you’re watching carbs.
- Eggs: Use large, fresh eggs— they help set the filling just right. If you’re out, a couple of spoonfuls of sour cream can help maintain that creamy texture without risking too much moisture.
- Lemon Juice: Brightens the filling with a zing that makes it pop. If you don’t have fresh lemon, bottled juice works—just make sure it’s bright and not dull in flavor.
- Sugar: I use superfine sugar for quick dissolving. If you like a less sweet bar, cut back a bit; if you want more caramel notes, a dash of brown sugar works surprisingly well.
- Sour Cream: Adds a subtle tang and smoothness. If dairy-free, a dollop of coconut cream can mimic that richness without losing the tang.
- Vanilla Extract: A splash of pure vanilla makes all the difference in depth. Skip it if you prefer a more neutral, lemon-focused flavor—though I think it balances nicely.
Spotlight on key ingredients
Cream Cheese:
- I prefer using full-fat cream cheese for that rich, velvety texture. If you want a lighter version, try Neufchâtel, but don’t expect quite the same richness.
- Graham Cracker Crust: I like crushing the graham crackers finely until they resemble wet sand. For extra flavor, toss in a pinch of cinnamon or a splash of vanilla. Skip the sugar here if you’re watching carbs.
- Lemon Juice: Brightens the filling with a zing that makes it pop. If you don’t have fresh lemon, bottled juice works—just make sure it’s bright and not dull in flavor.
Graham Crackers:
- Cream Cheese: I prefer using full-fat cream cheese for that rich, velvety texture. If you want a lighter version, try Neufchâtel, but don’t expect quite the same richness.
- Graham Cracker Crust: I like crushing the graham crackers finely until they resemble wet sand. For extra flavor, toss in a pinch of cinnamon or a splash of vanilla. Skip the sugar here if you’re watching carbs.
- Lemon Juice: Brightens the filling with a zing that makes it pop. If you don’t have fresh lemon, bottled juice works—just make sure it’s bright and not dull in flavor.
Notes for ingredient swaps
- Dairy-Free: Swap cream cheese for cashew-based cream cheese or tofu blended until smooth. Expect a slightly different tang and creaminess.
- Gluten-Free: Use almond flour or gluten-free graham crackers for the crust. The texture will be a bit more crumbly, but just as tasty.
- Sugar Alternatives: Substitute granulated sugar with honey, maple syrup, or coconut sugar. Adjust the liquid content slightly to balance moisture.
- Lemon Variations: Use bottled lemon juice if fresh lemons aren’t available. Fresh zest adds a bright, zesty aroma—skip if you prefer less tang.
- Crust Variants: Try digestive biscuits or Oreo cookies crushed finely—each brings a different flavor twist and texture to the base.
- Egg-Free: Replace eggs with applesauce or silken tofu to maintain moisture. The filling might be a tad denser, but still delicious.
- Flavor Boosts: Add a pinch of cinnamon or a splash of vanilla extract to the crust or filling for extra depth.
Equipment & Tools
- 9-inch square baking pan: Holds the crust and filling for baking.
- Parchment paper: Eases removal and prevents sticking.
- Mixing bowls: Combine crust ingredients and filling.
- Electric mixer or whisk: Cream cheese and sugar smoothly.
- Spatula: Smooth the filling surface.
- Wire rack: Cool the baked bars evenly.
- Sharp knife: Cut into neat squares.
Step-by-step guide to cheesecake bars
- Preheat your oven to 175°C (350°F). Line a 9-inch square baking pan with parchment paper, leaving an overhang for easy removal.
- Make the crust: In a bowl, combine 200g graham cracker crumbs, 50g melted butter, and 2 tbsp sugar. Mix until sandy. Press firmly into the bottom of the prepared pan. Bake for 8 minutes, until lightly golden. Let cool slightly.
- Prepare the filling: In a large bowl, beat 450g softened cream cheese with 150g superfine sugar until smooth and creamy, about 2 minutes. Add 2 large eggs, one at a time, beating well after each. Mix in 2 tbsp lemon juice, 1 tsp vanilla extract, and 3 tbsp sour cream until just combined.
- Pour the filling over the cooled crust. Smooth the top with a spatula. Tap the pan lightly on the counter to remove air bubbles.
- Bake: Place the pan in the oven. Bake for 25-30 minutes. The edges will look set, but the center might still wobble slightly when gently shaken.
- Check doneness: The top should be lightly golden, and the filling should have a slight jiggle in the center. If the edges crack or the center is too liquid, bake a few minutes more. If over-torched, cover with foil and reduce oven temp slightly.
- Cool: Remove from oven and let cool in the pan for 30 minutes. Then transfer to a wire rack to cool completely, about 1 hour.
- Chill: Cover with plastic wrap and refrigerate for at least 4 hours, preferably overnight, to allow flavors to meld and filling to set fully.
- Serve: Use the parchment overhang to lift the cheesecake out of the pan. Slice into squares with a sharp knife, wiping the blade between cuts. Serve chilled.
Allow the bars to cool completely in the pan, then chill in the fridge for at least 4 hours or overnight. Use the parchment to lift them out and slice cleanly. Serve straight from the fridge for best texture and flavor.
How to Know It’s Done
- Center jiggles slightly but doesn’t wobble excessively when gently shaken.
- Surface is lightly golden with a firm crust around edges.
- Filling looks set and smooth, no liquid pooling.
Cheesecake Bars
Ingredients
Equipment
Method
- Line your 9-inch square baking pan with parchment paper, leaving some overhang on the sides for easy removal. This helps the bars come out cleanly after baking.
- In a mixing bowl, combine the graham cracker crumbs with the melted butter and sugar. Stir until the mixture resembles wet sand and clumps together when pressed.
- Press the crumb mixture firmly into the bottom of the prepared pan, spreading it evenly with the back of a spatula. Bake in a preheated oven at 175°C (350°F) for about 8 minutes until lightly golden. Let it cool slightly while you prepare the filling.
- In a large bowl, beat the softened cream cheese with the superfine sugar using an electric mixer or whisk until smooth and creamy, about 2 minutes. This creates a luscious base for the filling.
- Add the eggs one at a time, beating well after each addition, until fully incorporated and the mixture is smooth. The filling should be fluffy and slightly glossy.
- Mix in the lemon juice, vanilla extract, and sour cream until just combined. The filling will become silky and slightly tangy, ready to be poured over the crust.
- Pour the creamy filling over the cooled crust, spreading it evenly with a spatula. Give the pan a gentle tap on the counter to settle the filling and remove air bubbles.
- Bake the bars in the oven at 175°C (350°F) for 25-30 minutes until the edges are lightly golden and the center jiggles slightly when gently shaken.
- Remove the pan from the oven and let the bars cool on a wire rack for about 30 minutes. Then, transfer the pan to the fridge and chill for at least 4 hours or overnight to set completely.
- Once chilled, lift the bars out of the pan using the parchment overhang. Slice into neat squares with a sharp knife, wiping the blade between cuts for clean edges.
- Serve the cheesecake bars straight from the fridge for a firm, creamy bite. Enjoy the perfect balance of crunchy crust and velvety filling!
Pro tips for cheesecake bars
- Texture Contrast: Press the crust firmly—this helps it stay crisp and crumbly after baking.
- Gentle Mixing: Mix the filling just until smooth—overmixing can incorporate too much air, causing cracks.
- Temperature Control: Bake at 175°C (350°F) for even cooking, avoiding over-baking and cracks.
- Mind the Jiggle: The center should jiggle slightly when done—this ensures a creamy, not runny, filling.
- Chill Completely: Refrigerate at least 4 hours or overnight—this lets flavors meld and the filling set firm.
- Use Parchment: Lift bars out easily with parchment overhang—no sticking, clean cuts every time.
- Slice with Warm Knife: Run a hot, wet knife between cuts—smooth, tidy edges for perfect squares.
Common cheesecake bar mistakes and solutions
- FORGOT to check oven temperature → Use an oven thermometer for accuracy.
- DUMPED filling too early → Wait until edges are lightly golden and center jiggles slightly.
- OVER-TORCHED crust → Cover with foil and lower oven temp to prevent burning.
- MISSED cooling time → Allow bars to cool completely before refrigerating to set properly.
Quick fixes and pantry swaps
- When batter is too thick, splash in a bit of milk to loosen it.
- If filling cracks during baking, reduce oven temperature slightly.
- Dampen a paper towel and dab over minor crust burns to prevent further charring.
- Splash a little lemon juice on fingerprints on the crust for quick clean-up.
- Patch small cracks with a tiny dab of extra filling before chilling to smooth surface.
Prep, store, and reheat tips
- Prepare the crust and bake it a day ahead; it firms up and develops a richer flavor overnight.
- Wrap the cooled bars tightly in plastic wrap and store in the fridge for up to 3 days for optimal freshness.
- For longer storage, freeze the bars wrapped in foil and then in a zip-top bag; they stay good for 1 month.
- Reheat slices gently in the microwave for about 10 seconds until just warm, noticing the creamy texture softening.
- Serve chilled for a firm bite or slightly warmed for a melt-in-your-mouth experience, depending on your mood.
Frequently Asked Questions
1. Can I use light cream cheese?
Use full-fat cream cheese for that silky, rich texture. Light versions won’t be as creamy but still work in a pinch.
2. How do I know when they’re done?
Bake until the edges are golden and the center jiggles just slightly when shaken—about 25-30 minutes at 175°C (350°F).
3. How long should I chill before serving?
Chill the bars in the fridge for at least 4 hours or overnight. They firm up and flavors meld beautifully.
4. Can I freeze cheesecake bars?
Yes, you can freeze them wrapped tightly for up to a month. Just thaw in the fridge before slicing.
5. Can I substitute lemon juice?
Add a splash of lemon juice to brighten the flavor, or swap in lime for a tangier twist.
6. Are there gluten-free options?
Use gluten-free graham crackers or digestive biscuits. The crust will be slightly more crumbly but just as tasty.
7. What if the top cracks?
If the top cracks, don’t panic. Smooth with a spatula or sprinkle with fresh berries for a pretty finish.
8. Can I prepare ahead?
Make the crust ahead and bake it the day before. The filling can be prepared a day in advance too.
9. How do I get neat slices?
Use a hot, damp knife to cut clean slices. Wipe it between slices for perfect edges.
10. What if the filling is too thick?
If the filling is too thick, stir in a teaspoon of milk or cream to loosen it up.
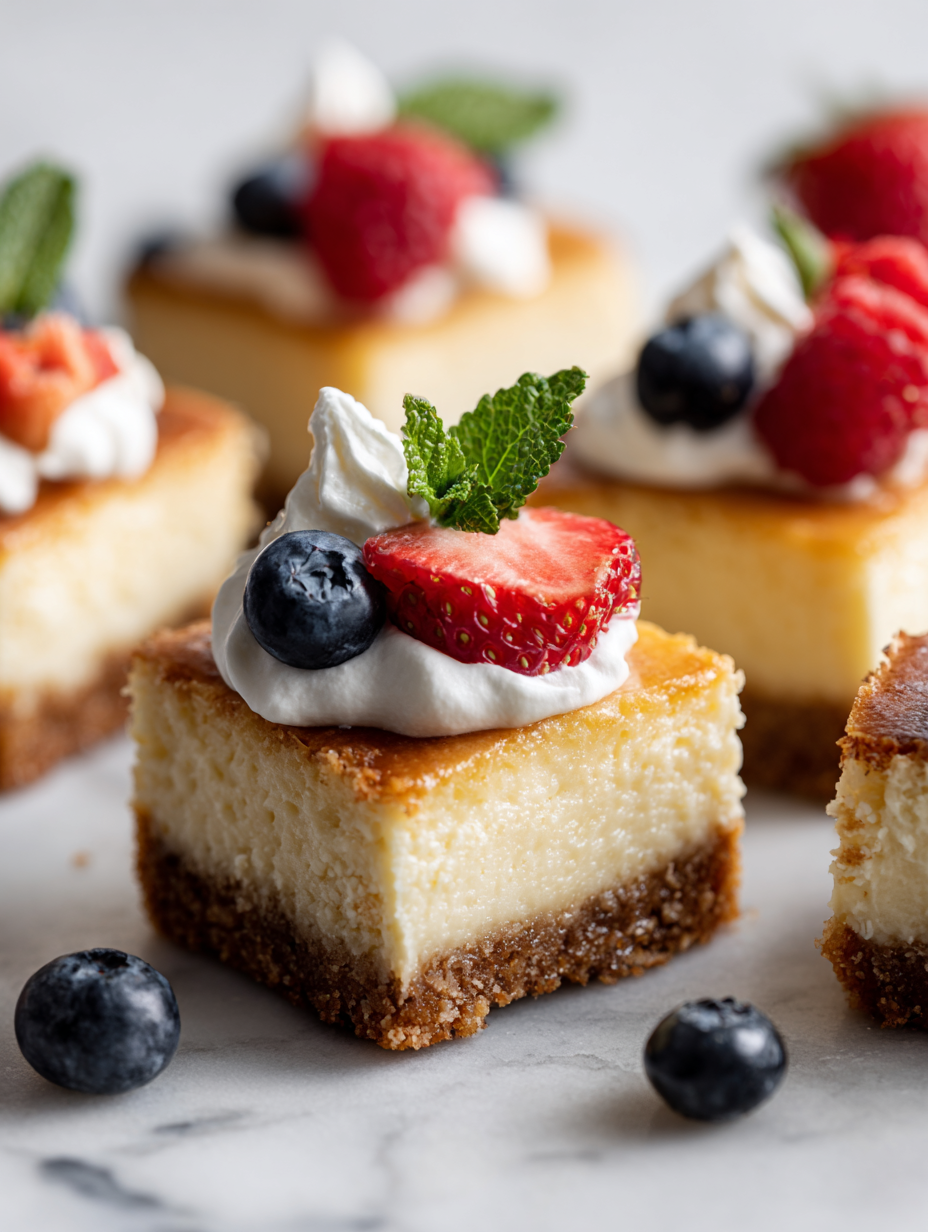
These cheesecake bars are more than just a sweet treat; they’re a reminder that simple ingredients can come together to create something truly memorable. Each bite offers a satisfying contrast between the crunchy crust and the creamy, tangy filling, making them perfect for a casual gathering or a quiet weekend indulgence.
In a season full of busy days and fleeting moments, having a dessert like this on hand feels grounding. It’s a little bit nostalgic, a little bit indulgent, and always just right when you need a comforting, honest bite of something homemade.

Hi, I’m Noah Bennett, the creator behind Breathing In Flavors. For me, cooking begins with a breath. Before the first bite, before the plating, before the garnish, there is that quiet moment when steam rises and you inhale. That is where flavor truly begins. Breathing In Flavors is my space to slow down, appreciate ingredients, and cook with awareness. I am so glad you’re here.
 The creator behind Breathing In Flavors.
For me, cooking begins with a breath. Before the first bite, before the plating, before the garnish, there is that quiet moment when steam rises and you inhale. That is where flavor truly begins.
Breathing In Flavors is my space to slow down, appreciate ingredients, and cook with awareness. I am so glad you’re here.
The creator behind Breathing In Flavors.
For me, cooking begins with a breath. Before the first bite, before the plating, before the garnish, there is that quiet moment when steam rises and you inhale. That is where flavor truly begins.
Breathing In Flavors is my space to slow down, appreciate ingredients, and cook with awareness. I am so glad you’re here.


