Preheat your oven to 175°C (350°F) and lightly grease or line an 8-inch square baking pan with parchment paper.
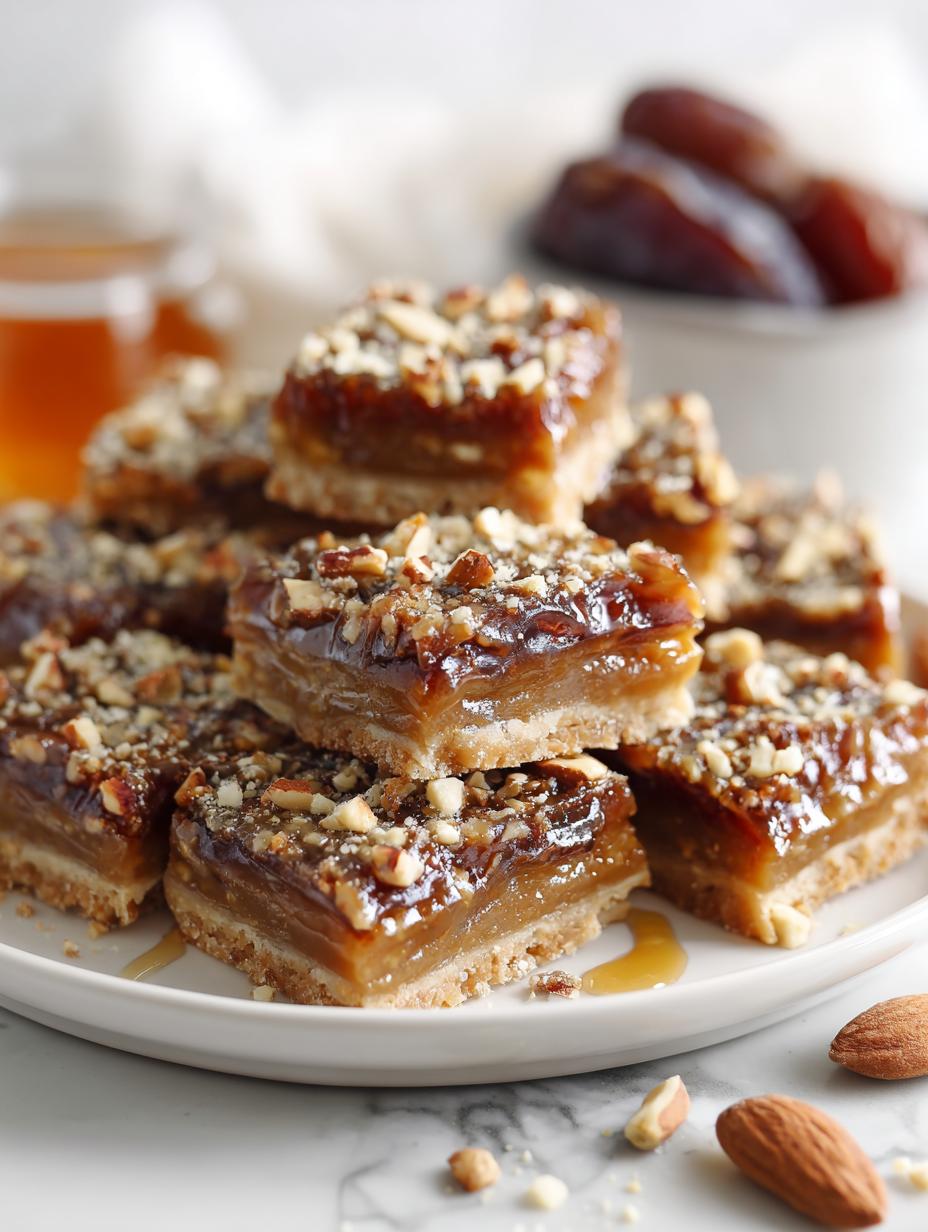
In a skillet over medium heat, toast the nuts until fragrant and golden, about 3-4 minutes. Let them cool slightly, then roughly chop to release their aroma and crunch.
In your food processor, add the pitted dates and pulse until they form a sticky, jam-like paste. If your dates are dry, drain the soaking water and ensure they’re moist enough to blend smoothly.
In a small saucepan over low heat, melt the butter and stir in the honey or maple syrup if using. Once melted and combined, remove from heat.
In a mixing bowl, combine the toasted nuts with the flour, salt, and vanilla extract. Toss to coat evenly, which helps them stay evenly distributed in the bars.
Add half of the date paste into the bowl and press the warm melted butter mixture over it. Mix thoroughly until the ingredients are well incorporated and sticky.
Press half of this date mixture evenly into the prepared baking pan, creating a firm, compact base layer. Use a spatula or the back of a spoon to smooth the surface.
Sprinkle the toasted nuts evenly over the base layer, pressing lightly to embed them into the sticky dates.
Spread the remaining half of the date paste over the nut layer, gently pressing to create a smooth, even top.
Bake the assembled bars in the preheated oven for 20-25 minutes, until the edges are golden and the top crackles slightly with a warm caramel aroma.
Remove the pan from the oven and let the bars cool in the pan for at least 15 minutes. This helps them set and makes slicing easier.
Once cooled, use a sharp knife to cut into squares or rectangles. Wipe the knife clean between slices for neat, clean cuts.
Enjoy your homemade date bars at room temperature or refrigerate for up to a week. For longer storage, wrap individual pieces and freeze, reheating briefly before serving for that warm, caramel aroma.