Making homemade date bars feels like a small act of kindness, especially when I think back to the afternoons I’d sneak a piece from my mom’s baking tin. Those chewy, caramel-y bites were simple but felt like a treasure—something about the sticky sweetness and the nutty undertone just stuck with me. It’s funny how a treat so straightforward can carry so much nostalgia.
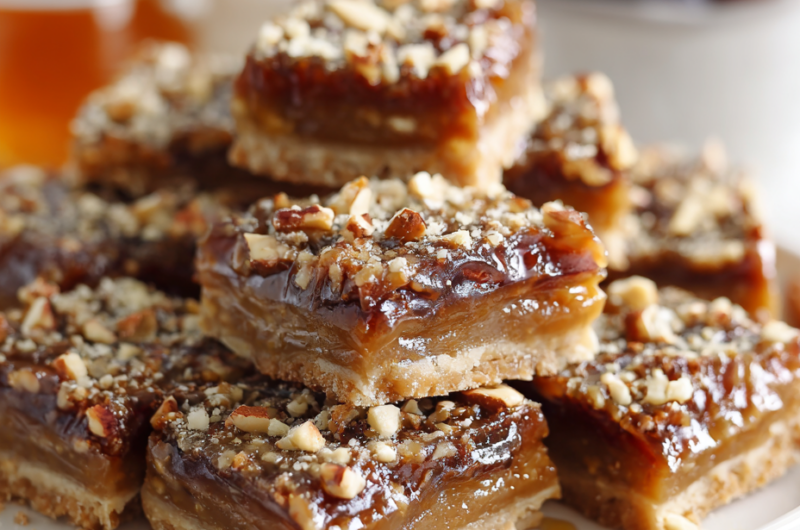
This recipe is about capturing that feeling—an easy, no-fuss thing you can whip up on a lazy weekend or when you need a quick comforting fix. The dates become this rich, jammy paste that sticks to your fingers, and the whole thing just smells like warm caramel and toasted nuts. It’s honest food, for honest moments, with a little bit of childhood magic in every bite.
Focusing on the nostalgic charm of homemade date bars, this recipe explores how their rich, caramel-like sweetness can evoke childhood memories and provide comforting, portable treats that feel like a warm hug on busy days.
The story behind this recipe
- One rainy afternoon, I found an old box of dates in the back of my pantry, forgotten but still fragrant with a honeyed, caramel scent. I started messing around, trying to turn those sticky gems into something more than just a snack—something portable, something a little nostalgic.
- My mom used to keep a batch of date bars in the freezer, and I’d grab one on busy mornings, the chewiness pushing through my teeth as I hurried out the door. It’s funny how a simple idea—just blending dates with nuts and a hint of salt—can bring back that feeling of comfort, those small moments of calm amid chaos.
- heading: The story behind this recipe
Ingredient breakdown: key components
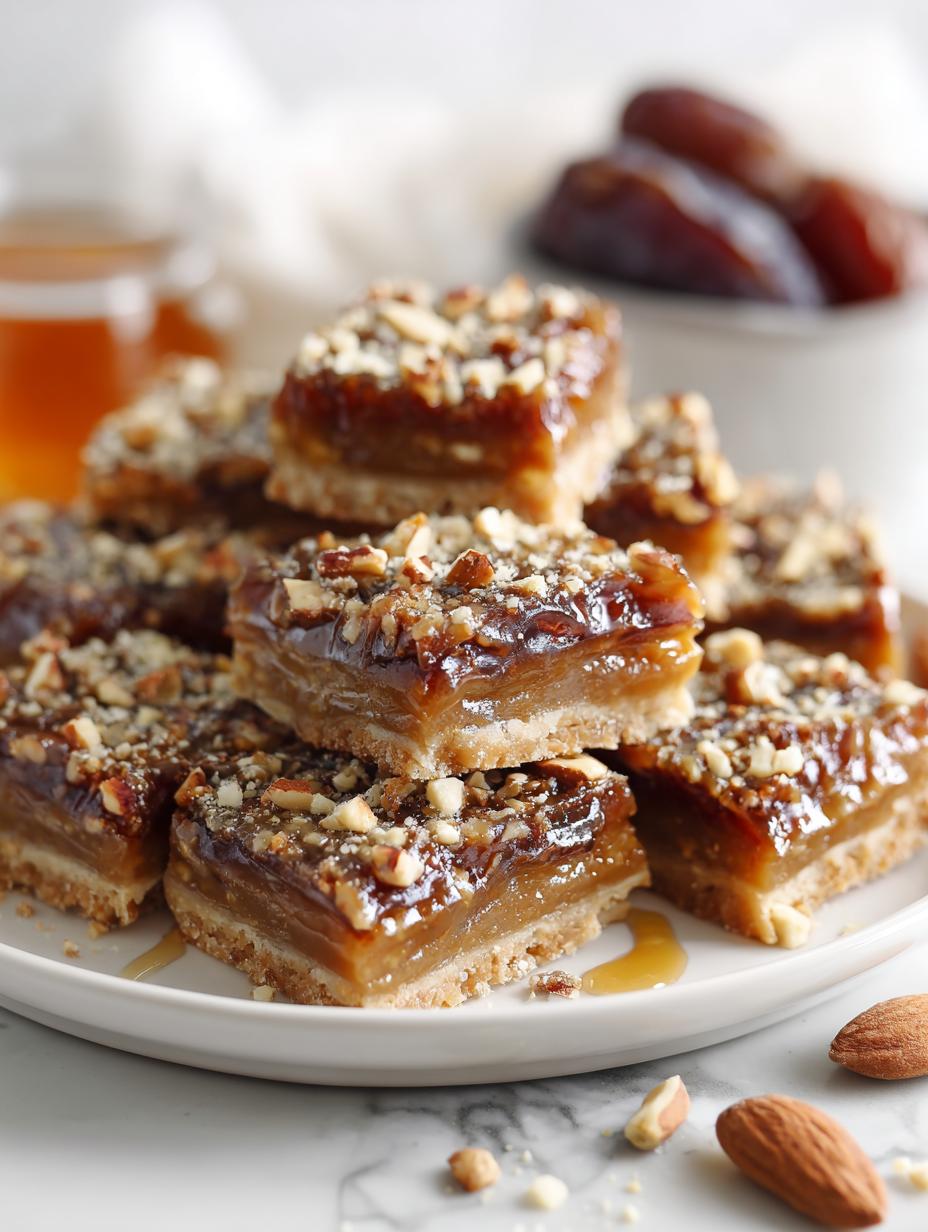
- Dates: I like soft, plump Medjool dates—they bring a deep, caramel-rich sweetness that clings to your fingers. If yours are dry, soak them briefly to soften before blending.
- Nuts: Toasted almonds or walnuts add a lovely crunch and nutty aroma. Skip or swap with sunflower seeds if allergies are a concern, but don’t skip the toasting for extra flavor.
- Butter: I use unsalted butter for a rich, melt-in-your-mouth base. For a dairy-free version, try coconut oil—just expect a slight coconut undertone that pairs well with the dates.
- Sweetener: A splash of honey or maple syrup enhances the caramel depth. If you prefer less sweetness, reduce or skip; the dates alone are sweet enough for some.
- Flour: Whole wheat or oat flour gives a tender crumb and nutty note. For gluten-free, almond or coconut flour works but alters the texture—less chewy, more tender.
- Salt: A pinch of sea salt heightens all the flavors and balances the sweetness. Don’t skip it; the contrast is what makes the bars pop.
- Vanilla: A dash of vanilla extract rounds out the flavor with a subtle warmth. Skip if you want a more straightforward, date-forward taste, but I love that hint of complexity.
Spotlight on key ingredients
Dates:
- I prefer soft Medjool dates—they’re naturally sweet and jammy, but if yours are dry, soak them briefly before blending.
- Nuts: Toasted almonds or walnuts add crunch and aroma; swap with sunflower seeds or omit if allergies are a concern, but don’t skip the toasting.
Nuts:
- Butter: Melts into the mixture smoothly; for dairy-free, coconut oil works, though expect a slight coconut aroma that pairs well.
- Toasted nuts bring out aroma and crunch, but you can skip or swap with seeds—just toast for flavor.
Notes for ingredient swaps
- Dates: I prefer soft Medjool dates—they’re naturally sweet and jammy, but if yours are dry, soak them briefly before blending.
- Nuts: Toasted almonds or walnuts add crunch and aroma; swap with sunflower seeds or omit if allergies are a concern, but don’t skip the toasting.
- Butter: Unsalted butter melts into the mixture smoothly; for dairy-free, coconut oil works, though expect a slight coconut aroma that pairs well.
- Sweetener: Honey or maple syrup deepens the caramel flavor; reduce or skip if you want a less sweet bar, as dates are naturally sweet enough.
- Flour: Whole wheat or oat flour adds nuttiness and tenderness; for gluten-free, almond or coconut flour can be used but will change the texture—less chewy, more tender.
- Salt: A pinch of sea salt enhances overall flavor contrast; skip if you prefer a sweeter, less savory note, but it really makes the flavors pop.
- Vanilla: A splash adds warmth and depth; skip for a more straightforward date taste, but I love that subtle layer of complexity it brings.
Equipment & Tools
- Food processor: Blends dates into a sticky paste.
- Baking pan: Holds the layered date and nut mixture for baking.
- Spatula: Spreads and presses ingredients evenly.
- Knife: Slices cooled bars into neat portions.
- Skillet: Toast nuts to bring out flavor.
Step-by-step guide to date bars
- Preheat your oven to 175°C (350°F). Grease a 20cm (8-inch) square baking pan with butter or line with parchment paper. This helps with easy removal and cleanup.
- Gather your equipment: a food processor for blending dates and nuts, a spatula for pressing, and a sharp knife for slicing. These tools make assembly smoother.
- In the food processor, pulse the pitted dates until they form a sticky, jam-like paste—about 30 seconds. If your dates are dry, soak them in warm water for 10 minutes beforehand, then drain well.
- Toast the nuts in a dry skillet over medium heat until fragrant, about 3-4 minutes. Let cool, then roughly chop. Toasting enhances their aroma and adds crunch.
- In a mixing bowl, combine the toasted nuts with a pinch of salt and a tablespoon of flour (your choice). Toss to coat evenly, which helps prevent sinking during baking.
- Press half of the date mixture evenly into the bottom of the prepared pan. Use a spatula or the back of a spoon to smooth the surface. This forms the base layer.
- Sprinkle the nut mixture evenly over the date layer. Press lightly to embed the nuts into the sticky dates, ensuring an even distribution.
- Spread the remaining date paste over the nuts, pressing gently to seal the top. The surface should be smooth and even, with no gaps.
- Bake in the preheated oven for 20-25 minutes, or until the edges are golden and the top is slightly crackled. The smell should be warm, caramel-y, with toasted nut aroma.
- Remove from oven and let cool in the pan for at least 15 minutes. This helps the bars set up, making slicing cleaner.
- Once cooled, use a sharp knife to cut into squares or rectangles. Wipe the knife clean between cuts to prevent sticking or tearing.
- Allow the bars to rest on a wire rack for another 10 minutes before serving. This helps maintain their shape and enhances texture.
Let the bars cool completely in the pan, then cut into pieces. Serve at room temperature or refrigerate for up to a week. For longer storage, wrap tightly and freeze, reheating briefly in the oven or microwave before serving.
How to Know It’s Done
- Edges are golden and firm when baked.
- Top surface is crackled but not burnt, with a sweet, caramel aroma.
- Bars hold their shape when sliced without crumbling.
Homemade Date Bars
Ingredients
Equipment
Method
- Preheat your oven to 175°C (350°F) and lightly grease or line an 8-inch square baking pan with parchment paper.
- In a skillet over medium heat, toast the nuts until fragrant and golden, about 3-4 minutes. Let them cool slightly, then roughly chop to release their aroma and crunch.
- In your food processor, add the pitted dates and pulse until they form a sticky, jam-like paste. If your dates are dry, drain the soaking water and ensure they’re moist enough to blend smoothly.
- In a small saucepan over low heat, melt the butter and stir in the honey or maple syrup if using. Once melted and combined, remove from heat.
- In a mixing bowl, combine the toasted nuts with the flour, salt, and vanilla extract. Toss to coat evenly, which helps them stay evenly distributed in the bars.
- Add half of the date paste into the bowl and press the warm melted butter mixture over it. Mix thoroughly until the ingredients are well incorporated and sticky.
- Press half of this date mixture evenly into the prepared baking pan, creating a firm, compact base layer. Use a spatula or the back of a spoon to smooth the surface.
- Sprinkle the toasted nuts evenly over the base layer, pressing lightly to embed them into the sticky dates.
- Spread the remaining half of the date paste over the nut layer, gently pressing to create a smooth, even top.
- Bake the assembled bars in the preheated oven for 20-25 minutes, until the edges are golden and the top crackles slightly with a warm caramel aroma.
- Remove the pan from the oven and let the bars cool in the pan for at least 15 minutes. This helps them set and makes slicing easier.
- Once cooled, use a sharp knife to cut into squares or rectangles. Wipe the knife clean between slices for neat, clean cuts.
- Enjoy your homemade date bars at room temperature or refrigerate for up to a week. For longer storage, wrap individual pieces and freeze, reheating briefly before serving for that warm, caramel aroma.
Pro tips for perfect date bars
- Use a sticky date paste to ensure the layers stay together during baking.
- Toast nuts thoroughly to unlock their full aroma and add a satisfying crunch.
- Spread the date mixture evenly in the pan to create uniform bars that snap cleanly.
- If the top begins to brown too quickly, tent with foil to prevent over-torching.
- Wipe your knife clean between cuts for tidy, crumb-free slices.
- Slightly underbake for softer bars, or extend baking time for a chewier, caramelized crust.
- Cool the bars completely before slicing to help them set and prevent crumbling.
Common mistakes and how to fix them
- FORGOT to soften dates? Soak them in warm water for 10 minutes before blending.
- DUMPED nuts in without toasting? Toast in a skillet until fragrant for extra flavor.
- OVER-TORCHED the edges? Cover with foil and lower oven temp if they brown too fast.
- MISSED the cooling step? Let bars cool fully in pan before slicing for clean cuts.
Quick Fixes and Pantry Swaps
- When dates are dry, soak for 10 minutes to soften and prevent cracking.
- Splash a little water on nuts before toasting for even better aroma.
- DUMPED nuts without toasting? Toast in a dry skillet until fragrant—adds crunch and flavor.
- Over-torched edges? Cover with foil and lower oven temp to prevent burning.
- Shield sliced bars with plastic wrap if they’re sticky—prevents crumbling when serving.
Prep, store, and reheat tips
- Preparing the date paste ahead makes assembly quicker—store it in an airtight container in the fridge for up to 3 days, where it stays sticky and fragrant with caramel notes.
- You can toast nuts a day in advance; keep them in a sealed jar at room temperature to preserve their crunch and aroma.
- Once baked and cooled, cut the bars into squares, then wrap each piece individually in parchment or plastic wrap. They’ll last in the fridge for up to a week, maintaining chewy texture and rich flavor.
- For longer storage, freeze the bars in an airtight container or zip-top bag for up to 2 months. Thaw at room temp, then briefly reheat in a 150°C (300°F) oven for 5 minutes—smells like toasted nuts and warm caramel when ready.
Top questions about date bars
1. How do I pick the best dates for this recipe?
Look for soft, plump dates—they’re jammy and easy to blend without drying out. Soaking dry dates in warm water for 10 minutes helps soften them further.
2. Can I use different nuts or seeds?
Use toasted nuts for maximum crunch and aroma. If you’re allergic, swap in sunflower or pumpkin seeds, but toast them first for flavor.
3. Should I melt the butter first?
Soften the butter slightly before mixing to help it blend smoothly into the date paste. Cold butter can make the mixture crumbly.
4. My bars are sticky and crumbling—what now?
If the bars seem too sticky when slicing, chill them in the fridge for 30 minutes. It firms up the mixture, making cleaner cuts.
5. How do I know when the date bars are done?
Bake until the edges are golden and fragrant, about 20-25 minutes at 350°F (175°C). The top should crackle slightly, and the smell will be warm caramel and toasted nuts.
6. How should I store leftover date bars?
Store wrapped in parchment or plastic wrap in the fridge for up to a week. For longer, freeze the bars and reheat briefly before serving.
7. How do I get clean slices every time?
Use a sharp knife wiped clean between cuts to prevent tearing or sticking. Wiping with a damp cloth helps for neat slices.
8. What if the edges burn while baking?
If the edges brown too quickly, tent with foil during baking. This shields the bars and prevents over-browning.
9. Can I add other flavors to the bars?
To add a smoky flavor, try a pinch of smoked sea salt or a splash of bourbon in the date mixture for depth.
10. The mixture feels too wet—what can I do?
If your dates are too sticky or runny, add a bit more flour or chopped nuts to absorb excess moisture and hold the layers together.
These date bars carry a quiet nostalgia, the kind that sneaks up on you with each chewy bite. They’re imperfect, just like those childhood afternoons spent helping in the kitchen, messy and full of learning. In a world that moves too fast, they remind me to slow down and savor simple, honest flavors.
Sharing these bars feels like passing on a secret—something warm and familiar. They’re perfect for busy mornings or lazy afternoons, and they somehow make everything feel a little more manageable. Sometimes, it’s the small, homemade moments that stay with us longest, long after the last crumb.

Hi, I’m Noah Bennett, the creator behind Breathing In Flavors. For me, cooking begins with a breath. Before the first bite, before the plating, before the garnish, there is that quiet moment when steam rises and you inhale. That is where flavor truly begins. Breathing In Flavors is my space to slow down, appreciate ingredients, and cook with awareness. I am so glad you’re here.
 The creator behind Breathing In Flavors.
For me, cooking begins with a breath. Before the first bite, before the plating, before the garnish, there is that quiet moment when steam rises and you inhale. That is where flavor truly begins.
Breathing In Flavors is my space to slow down, appreciate ingredients, and cook with awareness. I am so glad you’re here.
The creator behind Breathing In Flavors.
For me, cooking begins with a breath. Before the first bite, before the plating, before the garnish, there is that quiet moment when steam rises and you inhale. That is where flavor truly begins.
Breathing In Flavors is my space to slow down, appreciate ingredients, and cook with awareness. I am so glad you’re here.


